







Read the Full Series
This article is one part of a walkthrough detailing how we recreated an NXP i.MX 8M Mini–based computer using Quilter’s physics-driven layout automation.
Some boards need power! For our next feature focus, we decided to stress test Quilter’s ability to design boards that need higher currents. For our first take, we decided to implement a stepper motor driver.
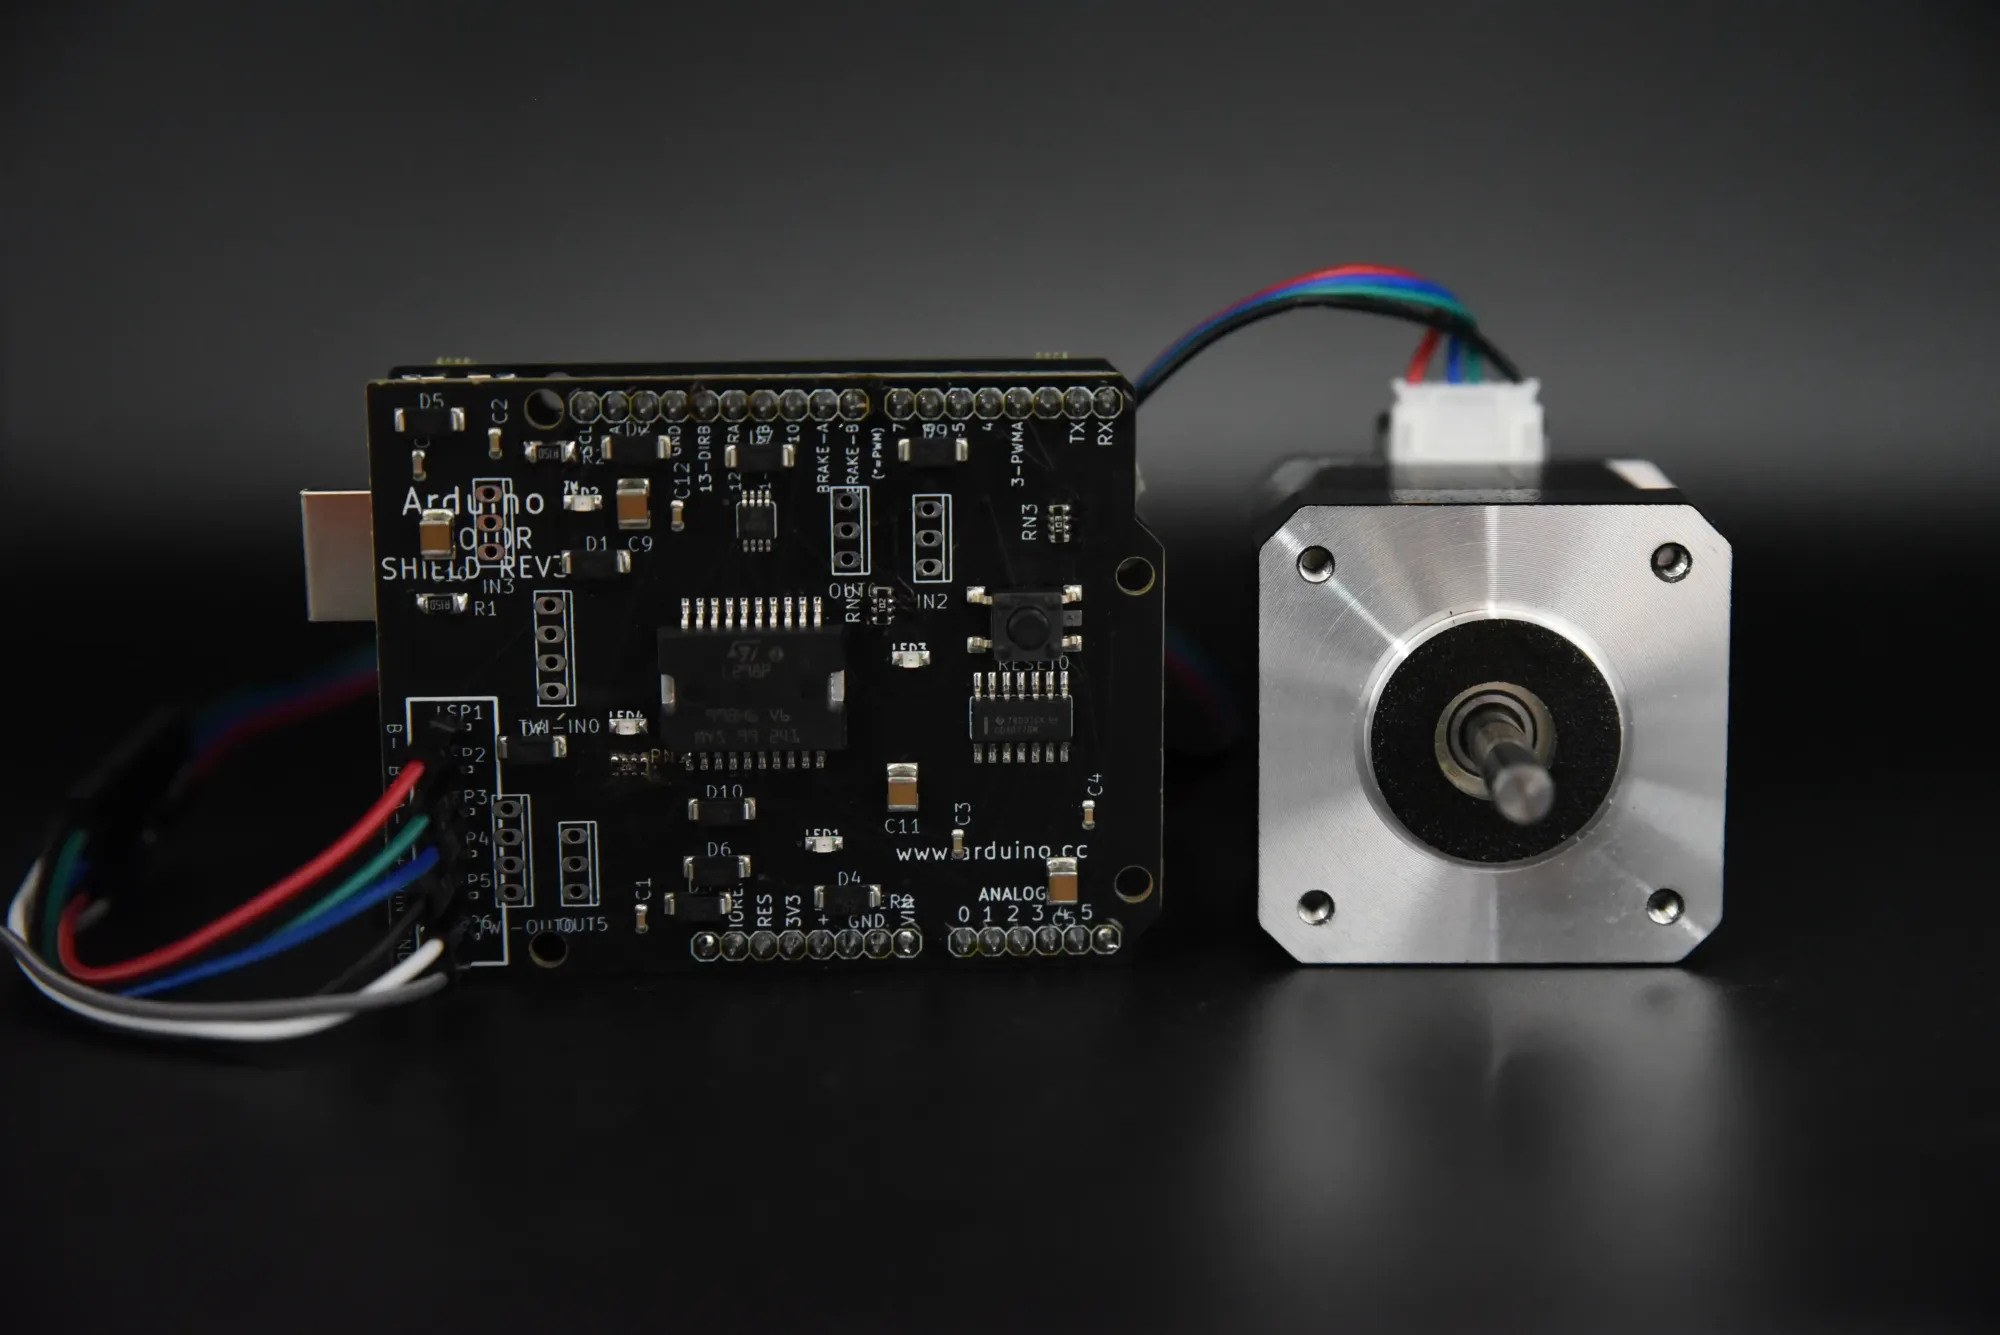
This board is based on the Arduino Motor Shield Rev3. This board is a shield that can be used with an Arduino Uno and can two DC motors or a single stepper motor.
This board is designed to handle up to about 4A of total current. For the design, we assigned a 4A ampacity to all high power traces. Quilter automatically assigns a minimum 52mil width to all traces to support the current.
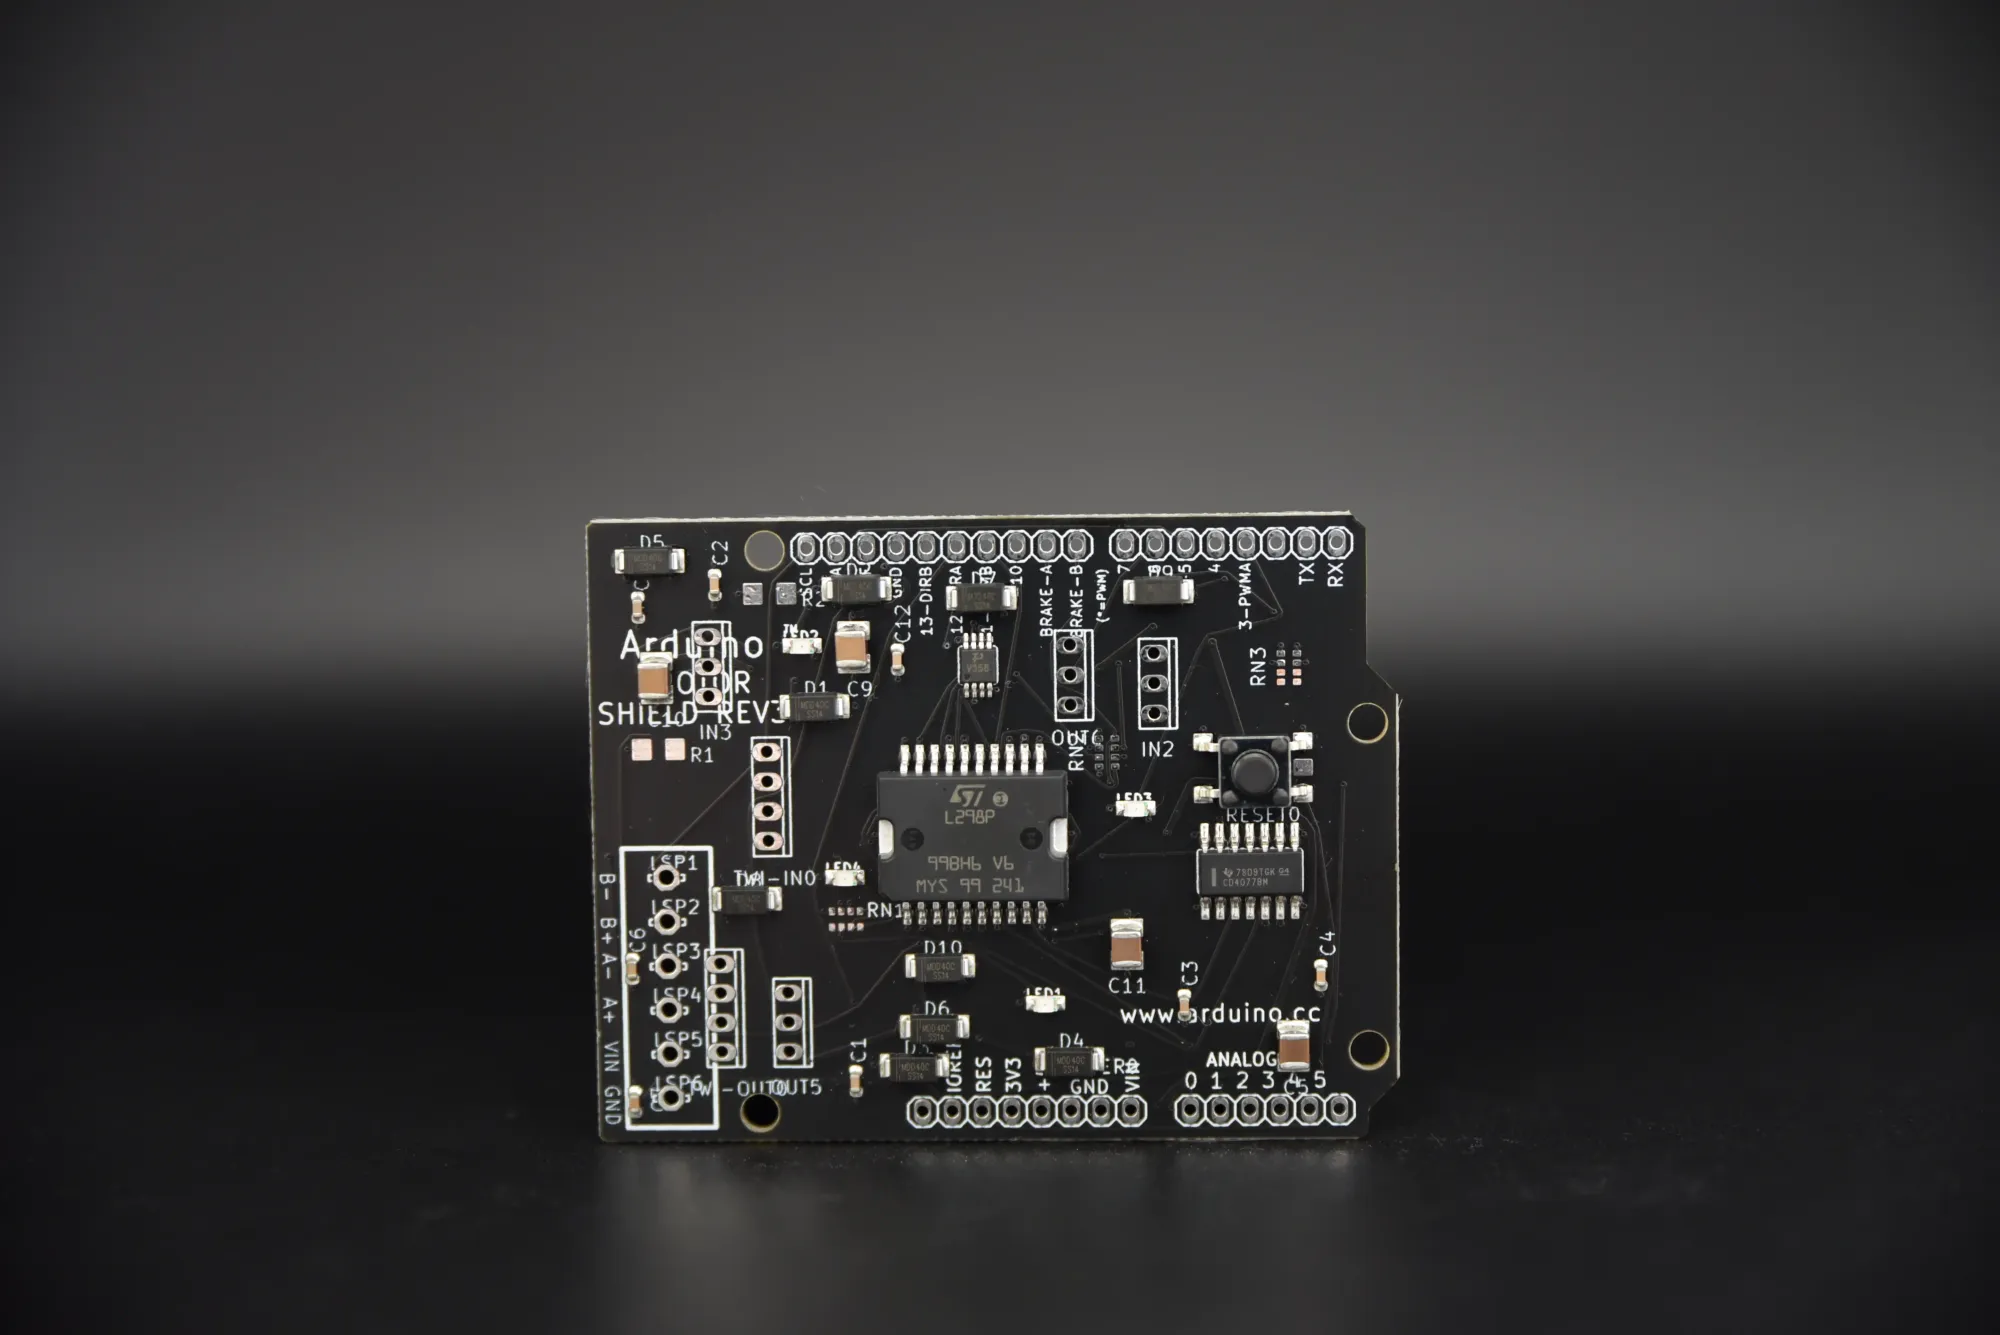
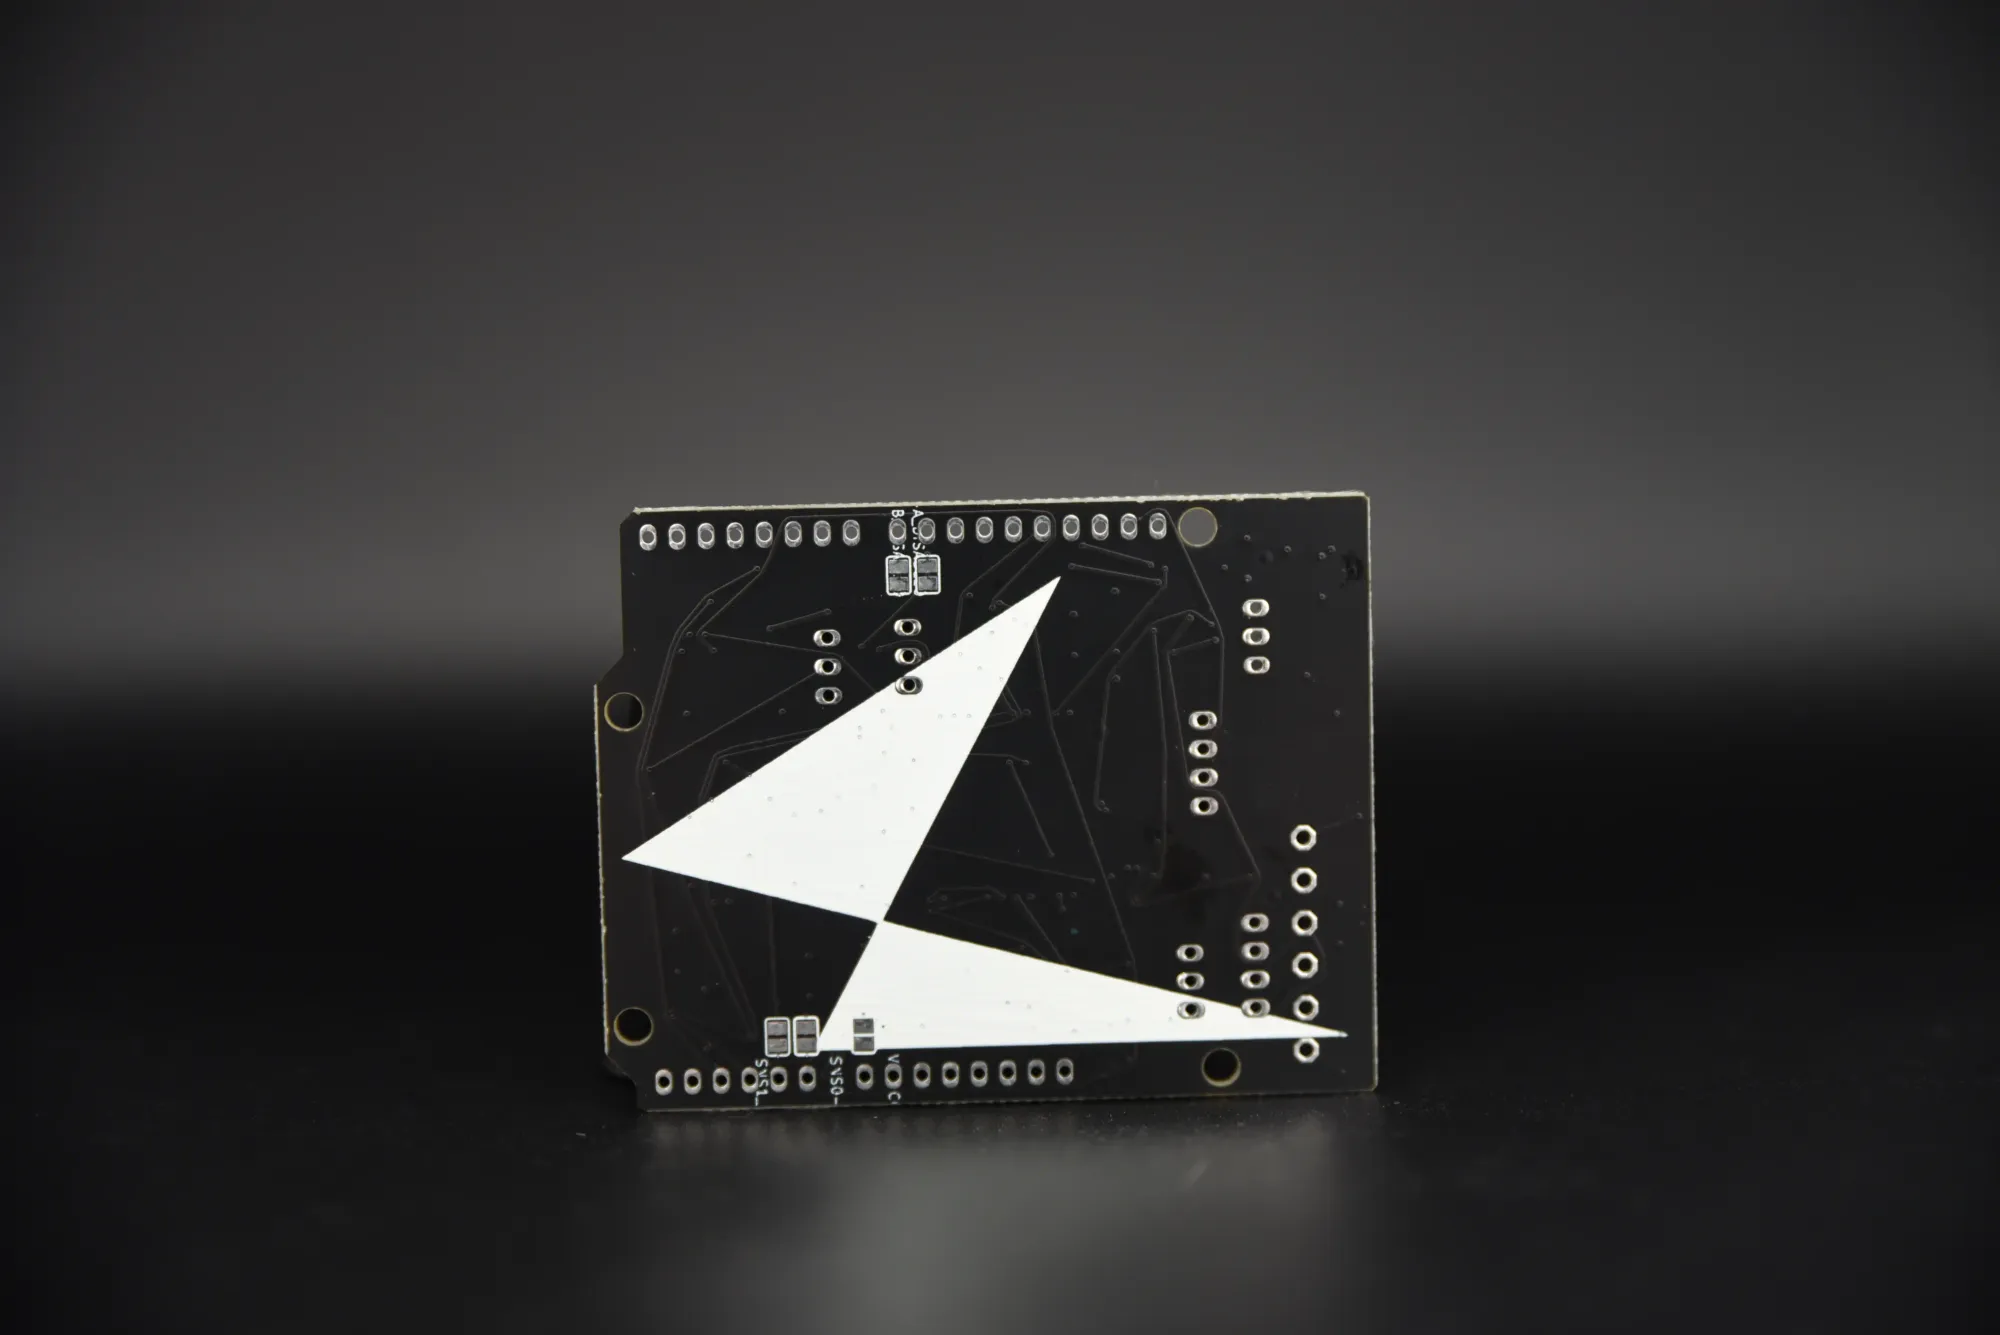
Our input files are here and our our output design file is here.
The script we used to drive the motor is here.
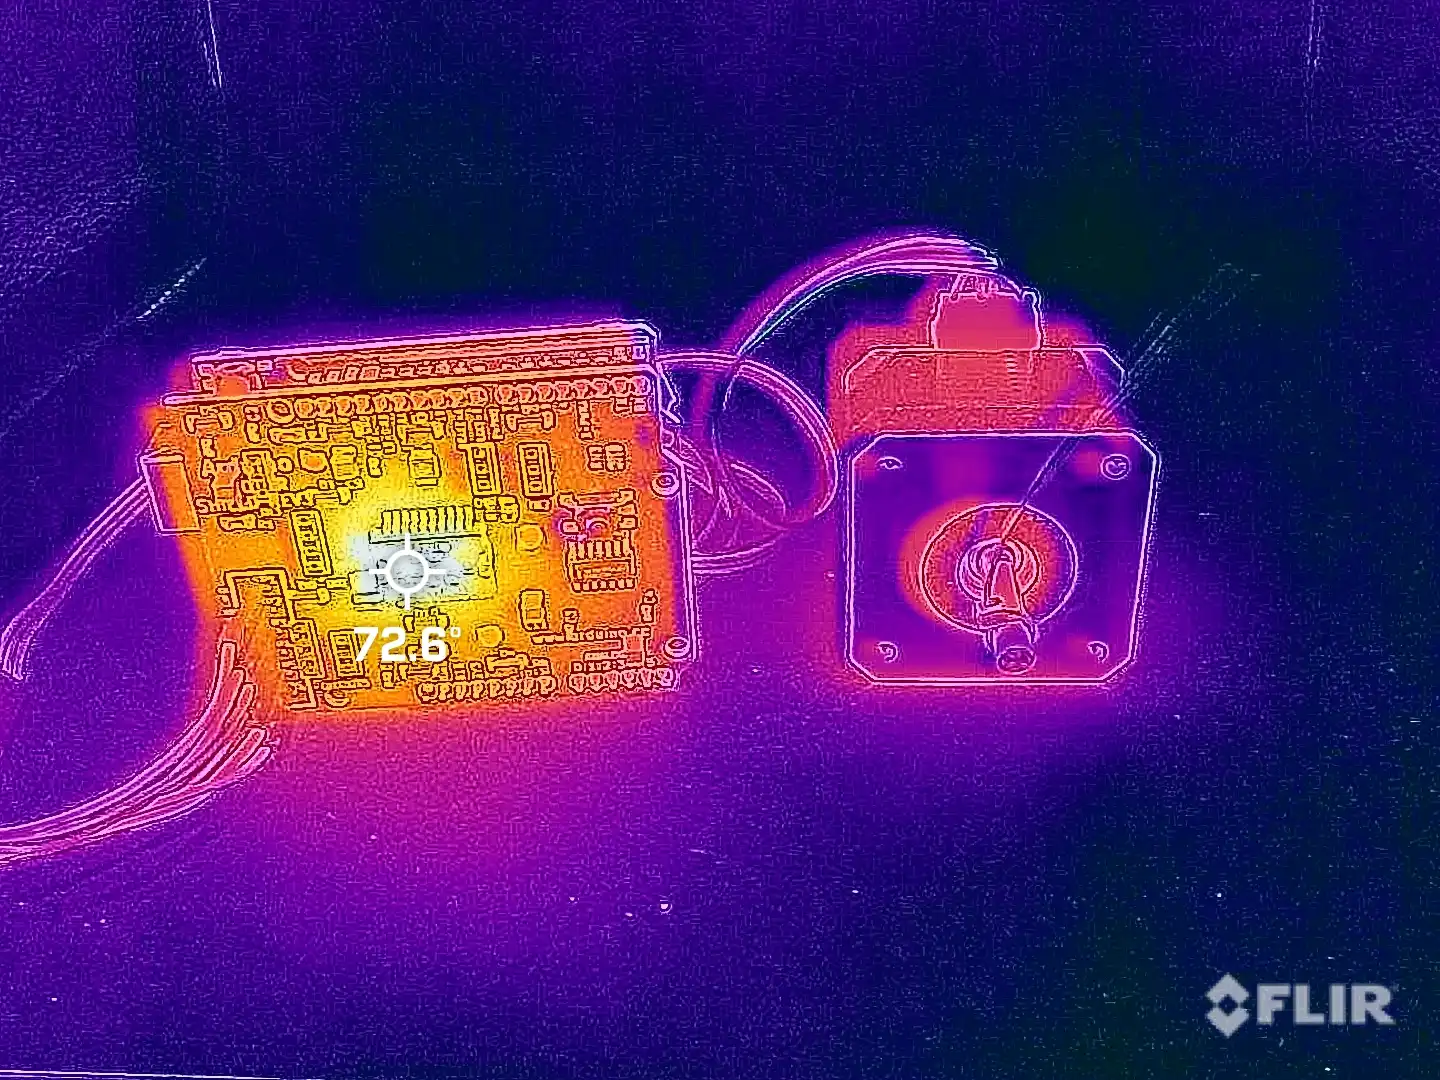
We coupled this shield with our Quilter-designed Arduino Uno. We tested the board with a simple stepper motor, which pulls 0.8A steady state. Checking for hot spots, we just see significant heat from the L298 (which is expected to reach over 100C in heavy use). Otherwise, no other hot spots were found.
We are excited to start Quilter’s journey into high power design! What should we build next?