


Read the Full Series
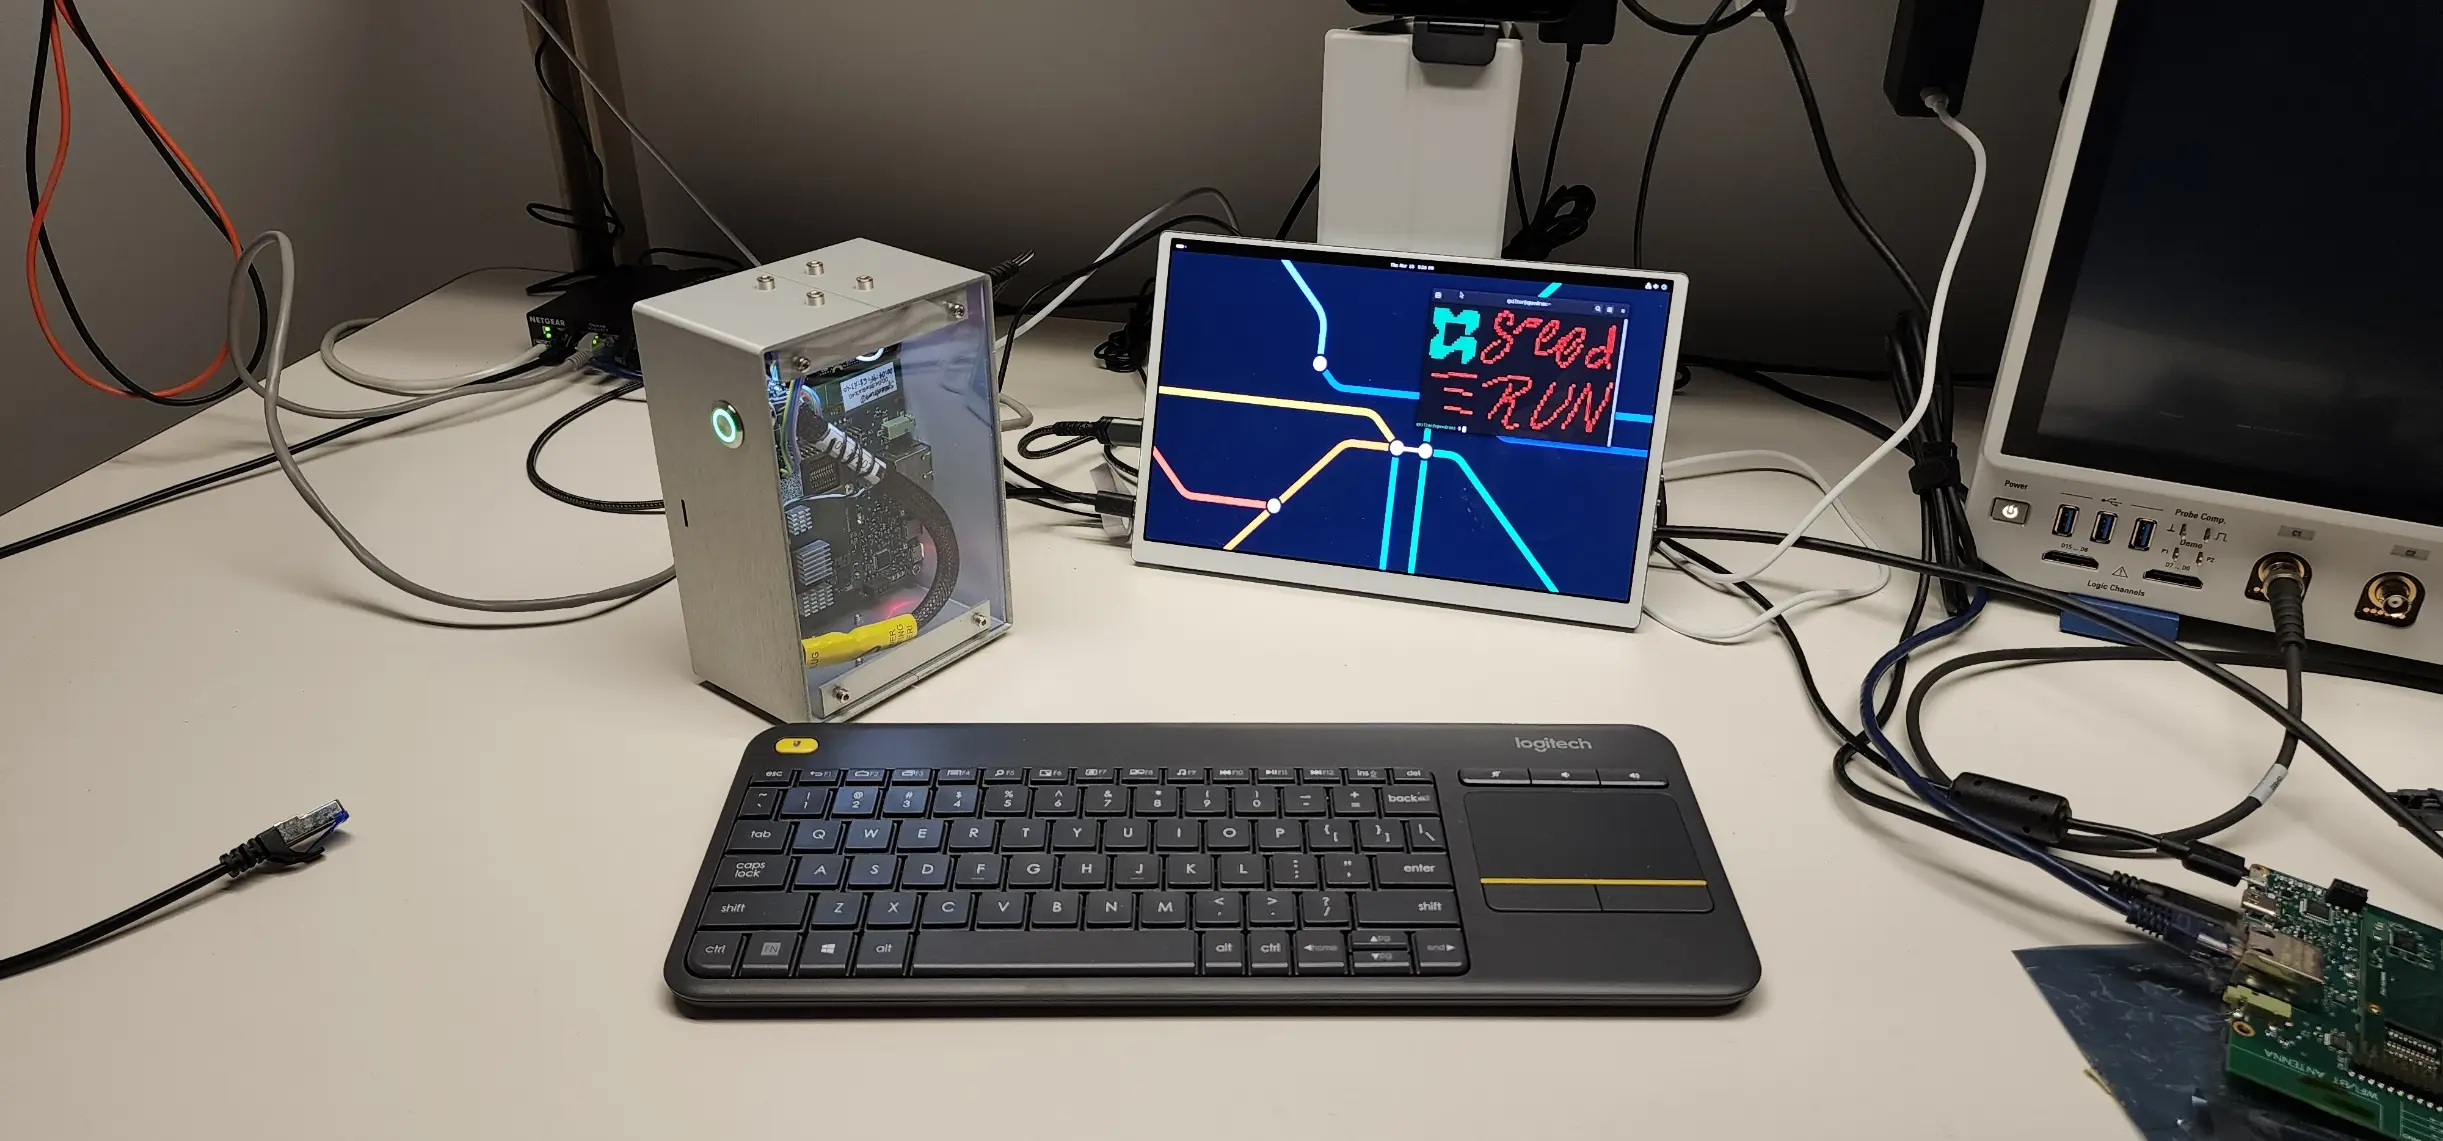
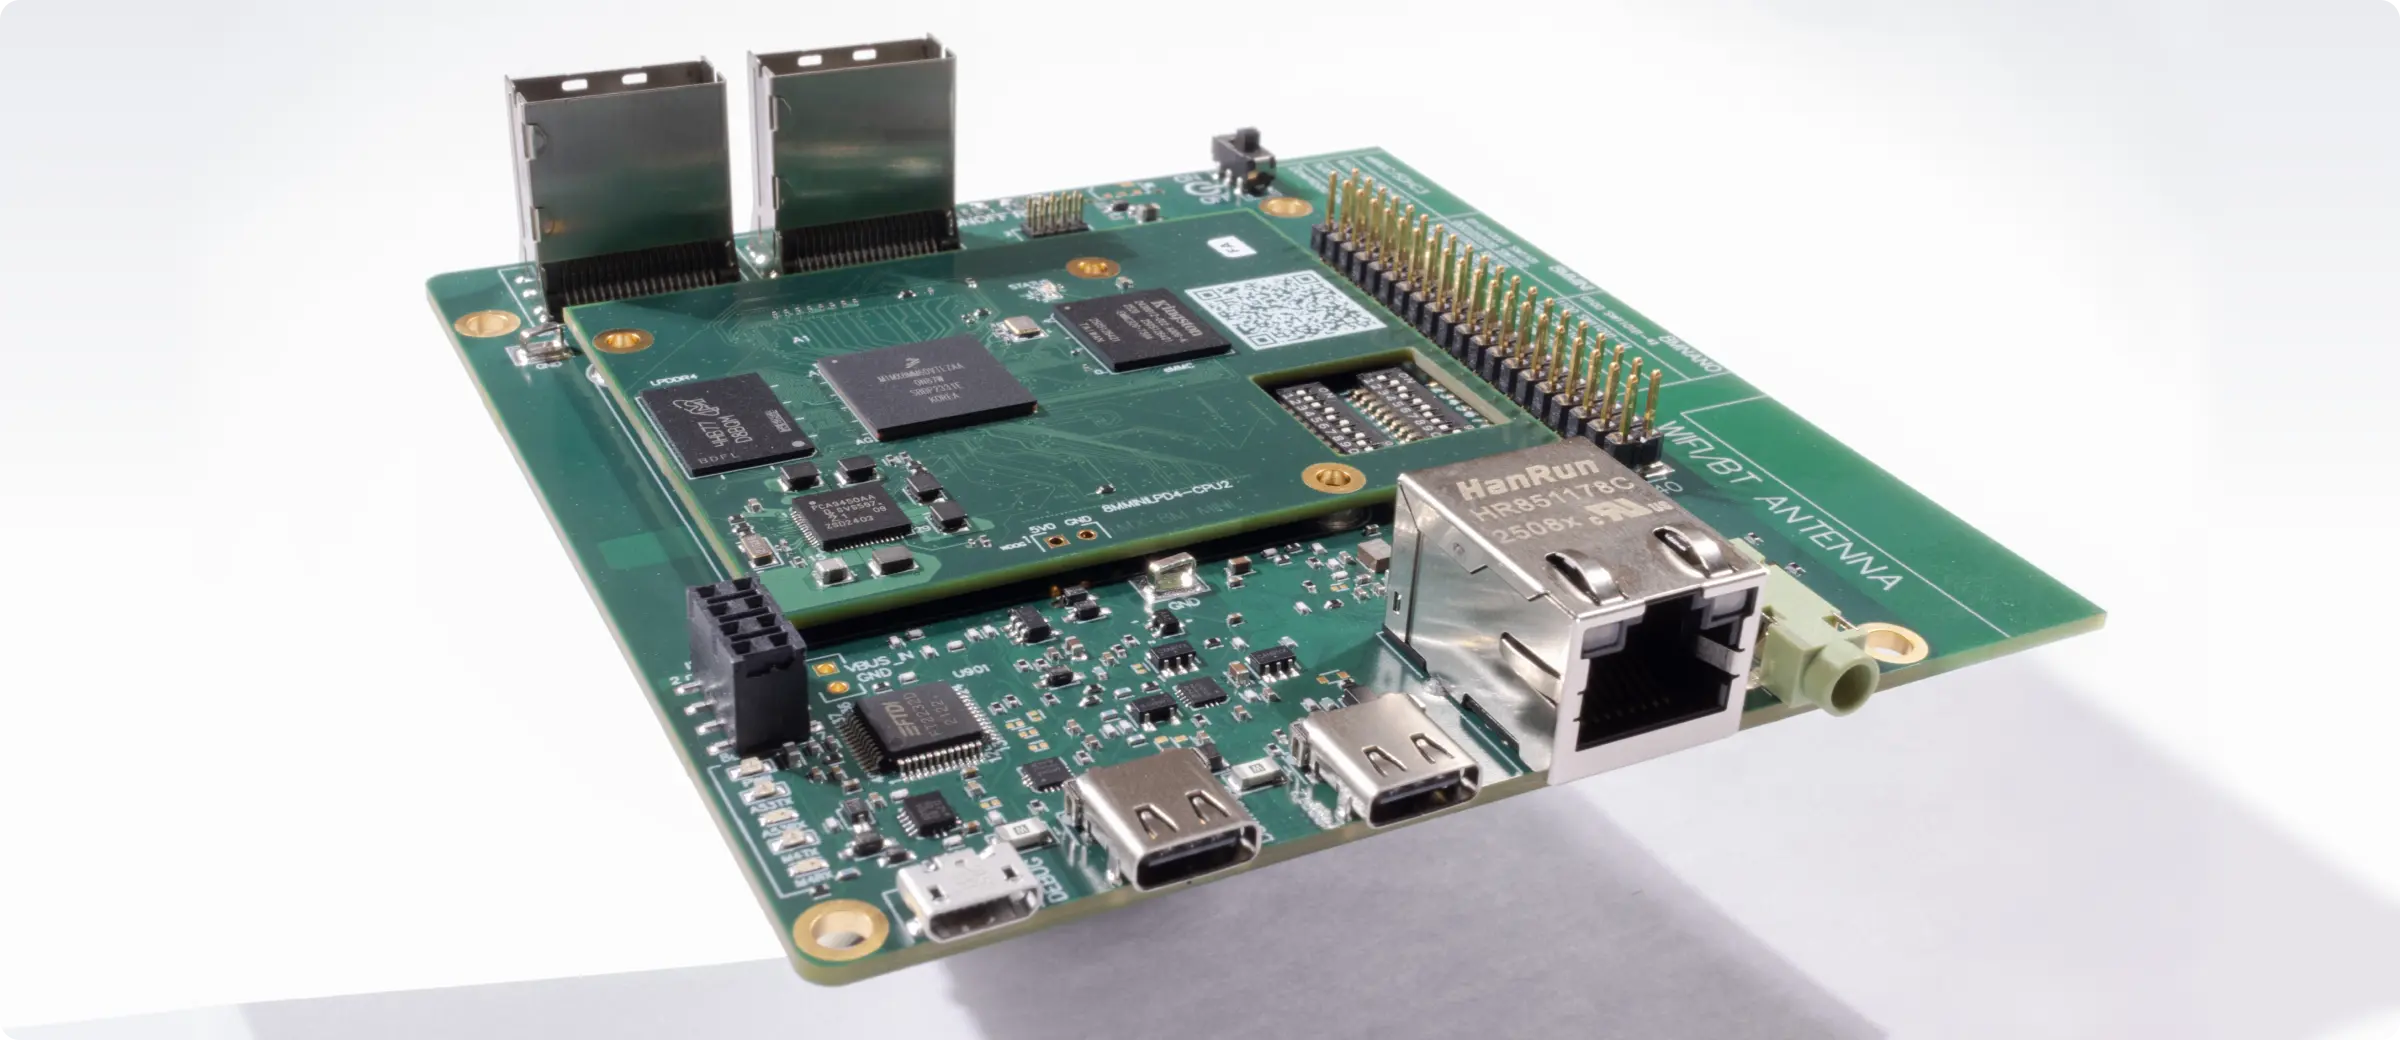
This article is one part of a walkthrough detailing how we recreated an NXP i.MX 8M Mini–based computer using Quilter’s physics-driven layout automation.
Most tools help you check impedance after the layout is done. Quilter flips that around. By embedding physics directly into an autonomous PCB design engine, impedance targets become part of how routes are created, not a problem you discover in late-stage simulations or, worse, on the bench.
If you have ever lived through the classic loop (stackup changes, rules drift, breakout regions get ugly, and suddenly your “controlled impedance” nets are controlled mostly by hope), you already know the real issue: impedance control is not a calculator problem. It is a system problem that spans stackup, geometry, via transitions, reference plane continuity, density constraints, and human time.
This post breaks down what impedance control actually looks like on modern high-speed boards, where traditional workflows fall short, and what “impedance by construction” looks like when physics-first AI generates full layout candidates that are validated during generation, not after.
Along the way, we will show how Quilter approaches AI impedance control, how it differs from advanced autorouters and SI co-pilots, and how to slot it into an Altium, Cadence, Siemens, or KiCad workflow without rebuilding your toolchain.
Let’s define the real impedance control problem on modern boards
Controlled impedance exists to keep signals predictable, repeatable, and manufacturable across the variability of real boards. For interfaces like PCIe, DDR, USB 3.x, HDMI, and higher-speed SERDES, you are not routing “wires.” You are routing transmission lines that interact with reference planes, adjacent nets, vias, connectors, and the stackup itself. At low speeds, a rough width calculation can get you close enough. At high speeds, “close enough” shows up as extra jitter margin you do not have, eye closure you cannot explain, and bring-up failures that are expensive to debug.
The practical pain is that impedance control is rarely violated in a clean, obvious way. It gets violated in the messy places.
- Stackup changes after you thought you were done. The fab tweaks dielectric thickness, swaps a material, or adjusts copper weight. Your calculated width is now wrong, and your rules are now wrong, even if the CAD tool still shows a green checkmark.
- Breakout regions force compromises. BGA escape routing, connector pinfields, dense via stitching, and layer transitions create micro-environments where the “global rule” does not match reality.
- Vias are not just holes. They are discontinuities with stubs, antipads, reference shifts, and return path complexity. A differential pair that is “100 ohm diff” on a layer can behave very differently across a via transition if the geometry and reference structure are not consistent.
- Layer swaps create reference problems. A route can maintain width and gap perfectly while losing its reference plane, shifting its fields, and increasing impedance variation and mode conversion.
The hidden cost is not just signal integrity. It is an organizational drag. Impedance control is a knowledge bottleneck. A few experts know how to interpret field-solver outputs, negotiate stackups, and spot the routing patterns that cause surprises. The rest of the team learns by scars. That scaling problem is why many teams still ship boards, but do it with a lot of rework, a lot of simulation time, and a lot of schedule risk.
The real impedance control problem is this: how do you consistently produce routing patterns and transitions that stay within spec across the entire board, without relying on hero-level expertise and late-stage iteration?
Here’s how traditional tools handle impedance today (and where they fall short)
The mainstream impedance workflow is well understood, and it works, up to the point where it becomes a schedule bottleneck.
A typical flow looks like this:
- Choose a preliminary stackup with your fab.
- Run a field solver or impedance calculator for microstrip and stripline geometries.
- Translate targets into width, spacing, and clearance rules per net class, often per layer.
- Route interactively (or auto-route certain regions), trying to stay within the rule set.
- Export into SI tooling for verification (TDR, S-parameters, eye analysis) on critical nets.
- Fix the violations you discover, usually where density forces compromises.
- Repeat until it is good enough or the schedule runs out.
Tools like Altium, Cadence Allegro/OrCAD (often paired with constraint management and SI tooling), Siemens flows, and KiCad plus external calculators can enforce rules well. They can also help you compute geometry and keep you from doing something obviously wrong.
The problem is that most of the workflow is still rule-and-check.
- Rules are proxies, not physics. A width and gap rule does not capture local coupling, reference discontinuities, plane splits, via antipad effects, fiber weave, connector transitions, or the way dense escape routing changes your effective environment.
- Constraints conflict in dense regions. When you have tight breakouts, keepouts, length matching, pair symmetry, and clearance rules all competing, the “correct” solution is not a single route. It is a search problem across many possible topologies and transitions.
- Traditional routing is not globally optimizing for SI. Interactive routing is great for human intent, but it is serial. Autorouters can fill space, but they generally follow the rules you give them and do not continuously evaluate physics-aware outcomes at the board level.
- Verification happens late. Many teams do not run detailed SI or PI checks until routing is mostly done. That is when changes are most expensive, because you are modifying a coupled system, not editing a single trace.
This is why impedance control feels like a trap: you spend time up front calculating, then you spend time during routing keeping things “legal,” then you spend time at the end discovering that “legal” did not mean “within spec everywhere.”
What would “impedance by construction” really look like in layout?
If you could design impedance-controlled routing the way you design software, you would not “verify and fix” after the fact. You would generate solutions that satisfy the constraints by construction.
In a true impedance-by-construction world:
- Impedance targets are treated as hard constraints alongside clearance, manufacturability, and length matching.
- The layout engine does not explore routing patterns that violate those constraints. It searches only within the feasible space, and it rejects candidates that drift out of spec.
- Layer changes and via structures are not ad hoc decisions. They are part of the constrained search. The engine chooses transitions that preserve reference structure and predictable impedance behavior.
- You do not get one layout that you nurse to completion. You get multiple complete candidates, scored and ranked, so you can compare tradeoffs: fewer vias vs shorter paths, cleaner returns vs tighter density, different stackups vs different manufacturers.
That changes the operating mode of a hardware team. You spend less time doing late-stage SI corrections, ECO loops, and documentation back-and-forth with layout partners or external bureaus. Instead, you define intent up front, generate candidates, and review the best ones with confidence that the fundamentals were validated during creation.
This is the shift from “impedance as a check” to “impedance as a design primitive.”
Here’s how physics-first AI changes impedance control under the hood
Quilter is not an autorouter, a co-pilot, or an LLM. It is an autonomous PCB design engine trained against real-world physics and manufacturing constraints, not historical human examples. That distinction matters for impedance control, because impedance is governed by fields and geometry, not by what looks like a good route.
At a high level, Quilter’s approach to AI impedance control looks like this:
1) Identify impedance intent from the design
When you upload a project and define your outline, key placements, and constraints, Quilter surfaces its understanding of what is impedance-critical. That includes impedance-controlled nets, differential pairs, and other high-impact routing considerations that typically drive SI risk.
You review this understanding up front. This matters because impedance automation only works if the engine knows what must be treated as “do not violate” during generation.
2) Treat impedance constraints as part of the objective, not a post-check
Quilter uses reinforcement learning to explore routing and placement decisions. The “reward” is not just “complete the route.” It is “complete the route while satisfying constraint coverage and physics-driven validity.”
For impedance-controlled routing, that means the engine is biased toward patterns that preserve predictable geometry and reference structure:
- It prefers routing topologies that keep impedance within target ranges given the stackup and layer environment.
- It selects layer swaps and via patterns that preserve return paths and reduce discontinuities.
- It avoids or penalizes routes that drift out of spec in dense regions where traditional rule-based routing often introduces risk.
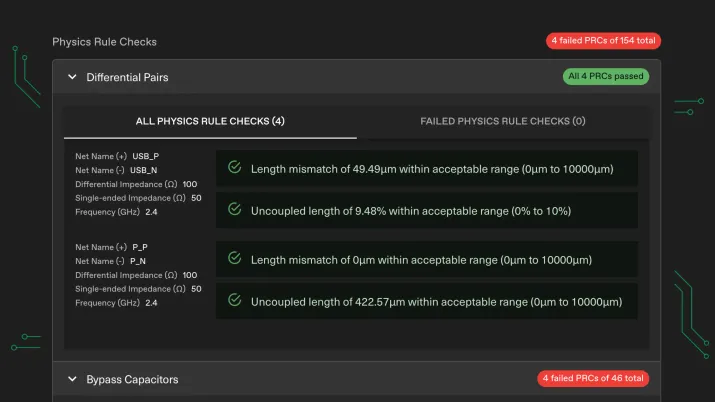
3) Continuous verification during generation
A key difference is the loop timing. In a traditional flow, you route first, then simulate, then fix. In a physics-first AI flow, physics checks are integrated during generation so candidates that violate constraints are rejected early, before they become entrenched.
This is what “physics validates every trace” means in practice. You get candidate layouts that are already scored on constraint coverage and validated against embedded physics checks, so you are not starting from a layout that needs major rework.
4) Parallel exploration instead of serial iteration
Impedance control becomes significantly easier when you can explore variants in parallel:
- Multiple stackups
- Multiple manufacturers
- Multiple form factors
- Multiple routing topologies
Instead of picking one path and hoping it works, you compare many feasible candidates. That is how you reduce the probability of a late surprise.
In other words, Quilter turns impedance control into a search problem the computer can actually search, rather than a late-stage expert task that depends on manual iteration.
How does this compare to an advanced autorouter or SI co-pilot?
This is where the category confusion usually lives, so let’s draw a clean line.
Autorouters: rule followers
Even advanced autorouters are typically rule-driven. They can be fast and surprisingly capable in constrained regions, but they are fundamentally executing within the constraints you provide. If the constraints are incomplete, conflicting, or based on simplified proxies, the router can still produce results that are “legal” but not robust.
Autorouters also tend to be local optimizers. They may not be continuously evaluating physics-aware outcomes across the whole board while exploring fundamentally different topologies.
SI co-pilots and chat assistants: workflow helpers
Co-pilots and chat-style assistants can help you configure constraints, generate checklists, or interpret tool settings. They can be useful, but they typically do not generate full fab-ready candidate layouts and they do not close the loop between constraint intent and physical routing patterns.
They still rely on the engineer to drive routing and interpret simulations.
Quilter: autonomous generation with physics in the loop
Quilter is complementary to your expertise. Engineers still define stackup intent, constraints, and critical placement. But Quilter handles the non-core layout work that usually eats weeks, including the impedance-sensitive routing decisions that become painful under density.
The key difference is where impedance control happens:
- Traditional: rules first, then routing, then physics verification, then fixes
- Quilter: constraints first, then AI generation that is continuously evaluated against embedded physics checks, producing ranked candidates
Here is a simple schematic-style diagram that captures the difference:
TRADITIONAL FLOW (post-hoc verification)
[Define rules] -> [Route] -> [Simulate / TDR] -> [Fix] -> [Re-simulate] -> [ECO loop] -> [Signoff]
QUILTER FLOW (impedance by construction)
[Define constraints] -> [AI generates many candidates] -> [Physics-validated scoring] -> [Pick best] -> [Polish in CAD] -> [Signoff]
What results can you expect on real high-speed boards?
The most useful way to think about results is not “does it hit 50 ohm.” It is “does it reduce rework loops and schedule risk while keeping impedance intent intact across real routing complexity.”
On real boards, AI impedance control shows up as:
- Fewer SI-driven rework loops because candidate layouts are generated with impedance constraints as part of the construction process.
- Reduced bring-up surprises because the highest-risk areas (dense breakouts, via transitions, layer swaps) are treated as first-class constraints during generation.
- More variants explored per schedule. When you can generate multiple candidates in hours, you can compare strategies instead of committing to one.
This matters most in designs like:
- DDR validation boards where length matching, skew, and breakout density collide
- SERDES-heavy backplanes where via strategy, reference continuity, and routing topology dominate risk
- Dense IC evaluation boards where escape routing and constrained keepouts create the exact conditions that break simple rule-based impedance assumptions
Here’s how to slot Quilter into your existing high-speed workflow
Quilter is designed to work with your existing CAD environment, not replace it. The adoption path is intentionally low-friction.
Step 1: Start in the CAD tool you already use
Begin with your existing Altium, Cadence, Siemens, or KiCad project.
Define what you normally define:
- Board outline and mechanical constraints
- Pre-placement for connectors, key ICs, and any fixed components
- Net classes, critical constraints, and any routing keepouts
If you need a conceptual anchor, see the Product Overview and Workflow pages for how Quilter fits into a standard design process:
- Internal links: Product Overview, Workflow
Step 2: Upload and confirm impedance-critical intent
Upload your project to Quilter and review how it classifies impedance-controlled nets and differential pairs. Confirm that the engine’s interpretation matches your intent.
This is where impedance automation becomes reliable: you are making the constraints explicit before any routing is generated.
Step 3: Generate multiple candidates in parallel
Run generation across the design space you care about:
- Alternate stackups (within your manufacturability envelope)
- Alternate manufacturers
- Alternate routing strategies driven by density and topology constraints
Quilter generates multiple complete candidates and ranks them. You are no longer forced to bet everything on a single routing path.
Step 4: Select, review, and hand back to your CAD tool
Pick the best candidates and bring them back into your native tool for:
- Full DRC
- Final polish and documentation
- Manufacturing outputs and release
The point is not to eliminate review. The point is to eliminate weeks of non-core layout labor and reduce the chance that impedance problems show up late.
If you are working in board classes where impedance risk is highest, Quilter’s Solutions pages can help you map the workflow to your use case:
- Internal links: IC Evaluation Boards, Backplane and Interconnect Boards
What’s next for AI-driven impedance control in hardware-rich development?
Impedance control is a great place to see the broader shift that physics-driven AI enables.
When you make impedance-controlled routing routine, reliable, and fast, you unlock a different development mode: more board variants, more architectural experimentation, and fewer “we cannot try that because layout will take too long” decisions.
That is the core idea behind Hardware-Rich Development: treat boards like software builds, where iteration is cheap enough that you can explore design space, not just execute a single plan.
What comes next is a natural expansion of “by construction” thinking:
- Automated stackup exploration as a first-class axis of iteration, not a one-time decision
- Deeper PI optimization integrated into candidate scoring, not bolted on later
- Tighter feedback from lab measurements back into the generation loop so the system learns what “works in the real world” at program scale
If you are evaluating AI PCB layout software specifically for impedance controlled routing, the real question is not “does it have an impedance calculator.” The question is “does it produce impedance-correct routing patterns as a built-in property of generation, and can it do that fast enough to give you real iteration leverage?”
If that is what you need, upload an existing high-speed or impedance-critical board to Quilter and compare multiple physics-validated candidates within a single workday.
- Internal links: Get Started, Free Version
Download: Impedance By Construction Checklist (PDF)
Use this one-page checklist to standardize how your team defines impedance intent, encodes constraints, generates candidates, and finalizes in CAD.