


Read the Full Series
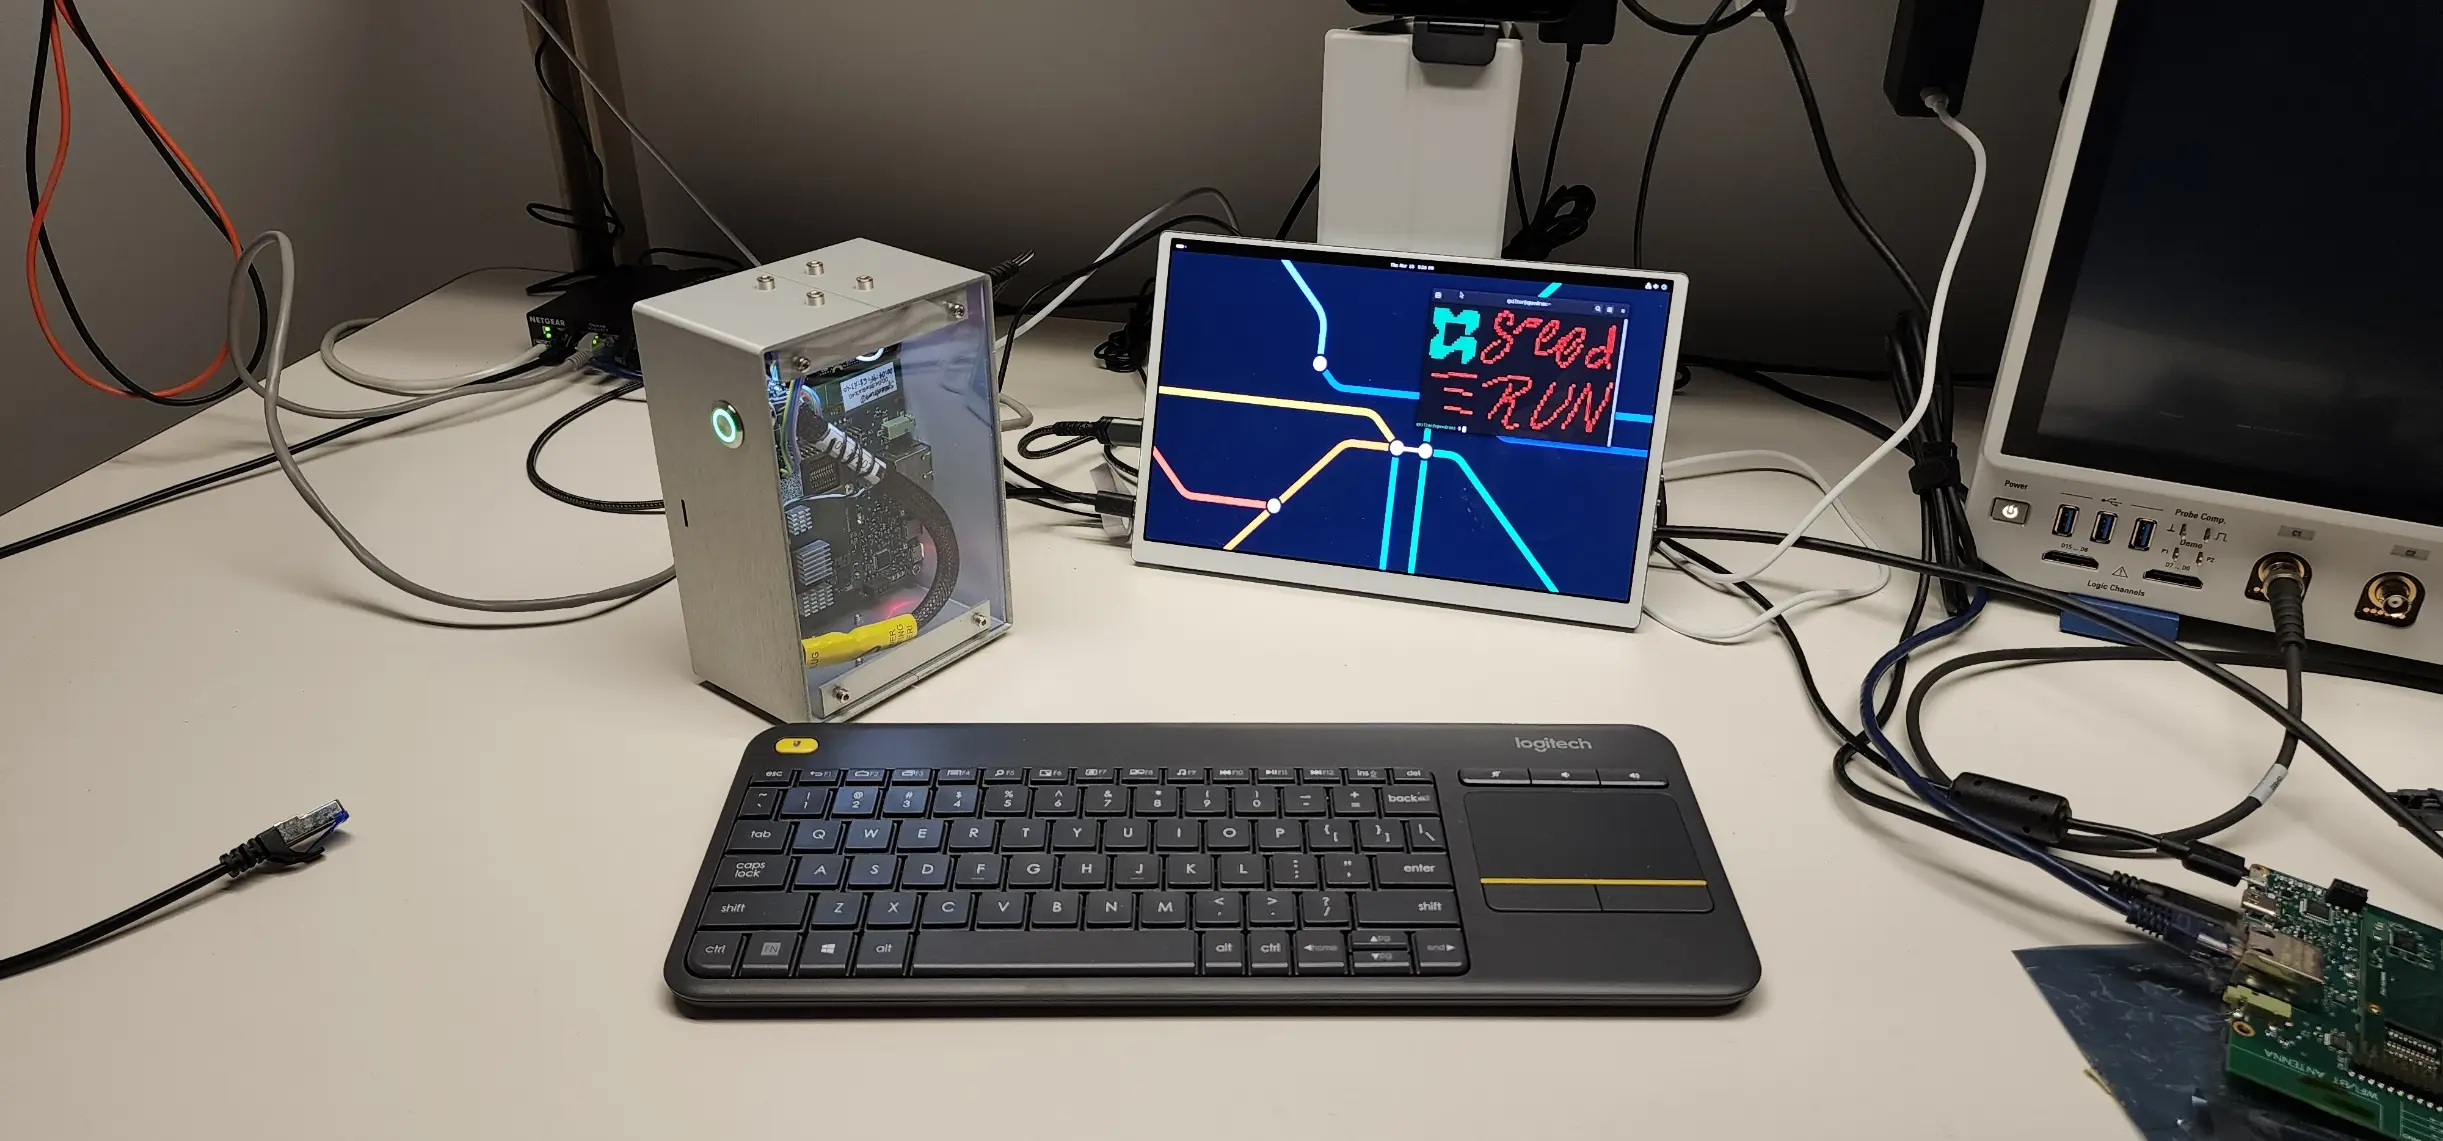
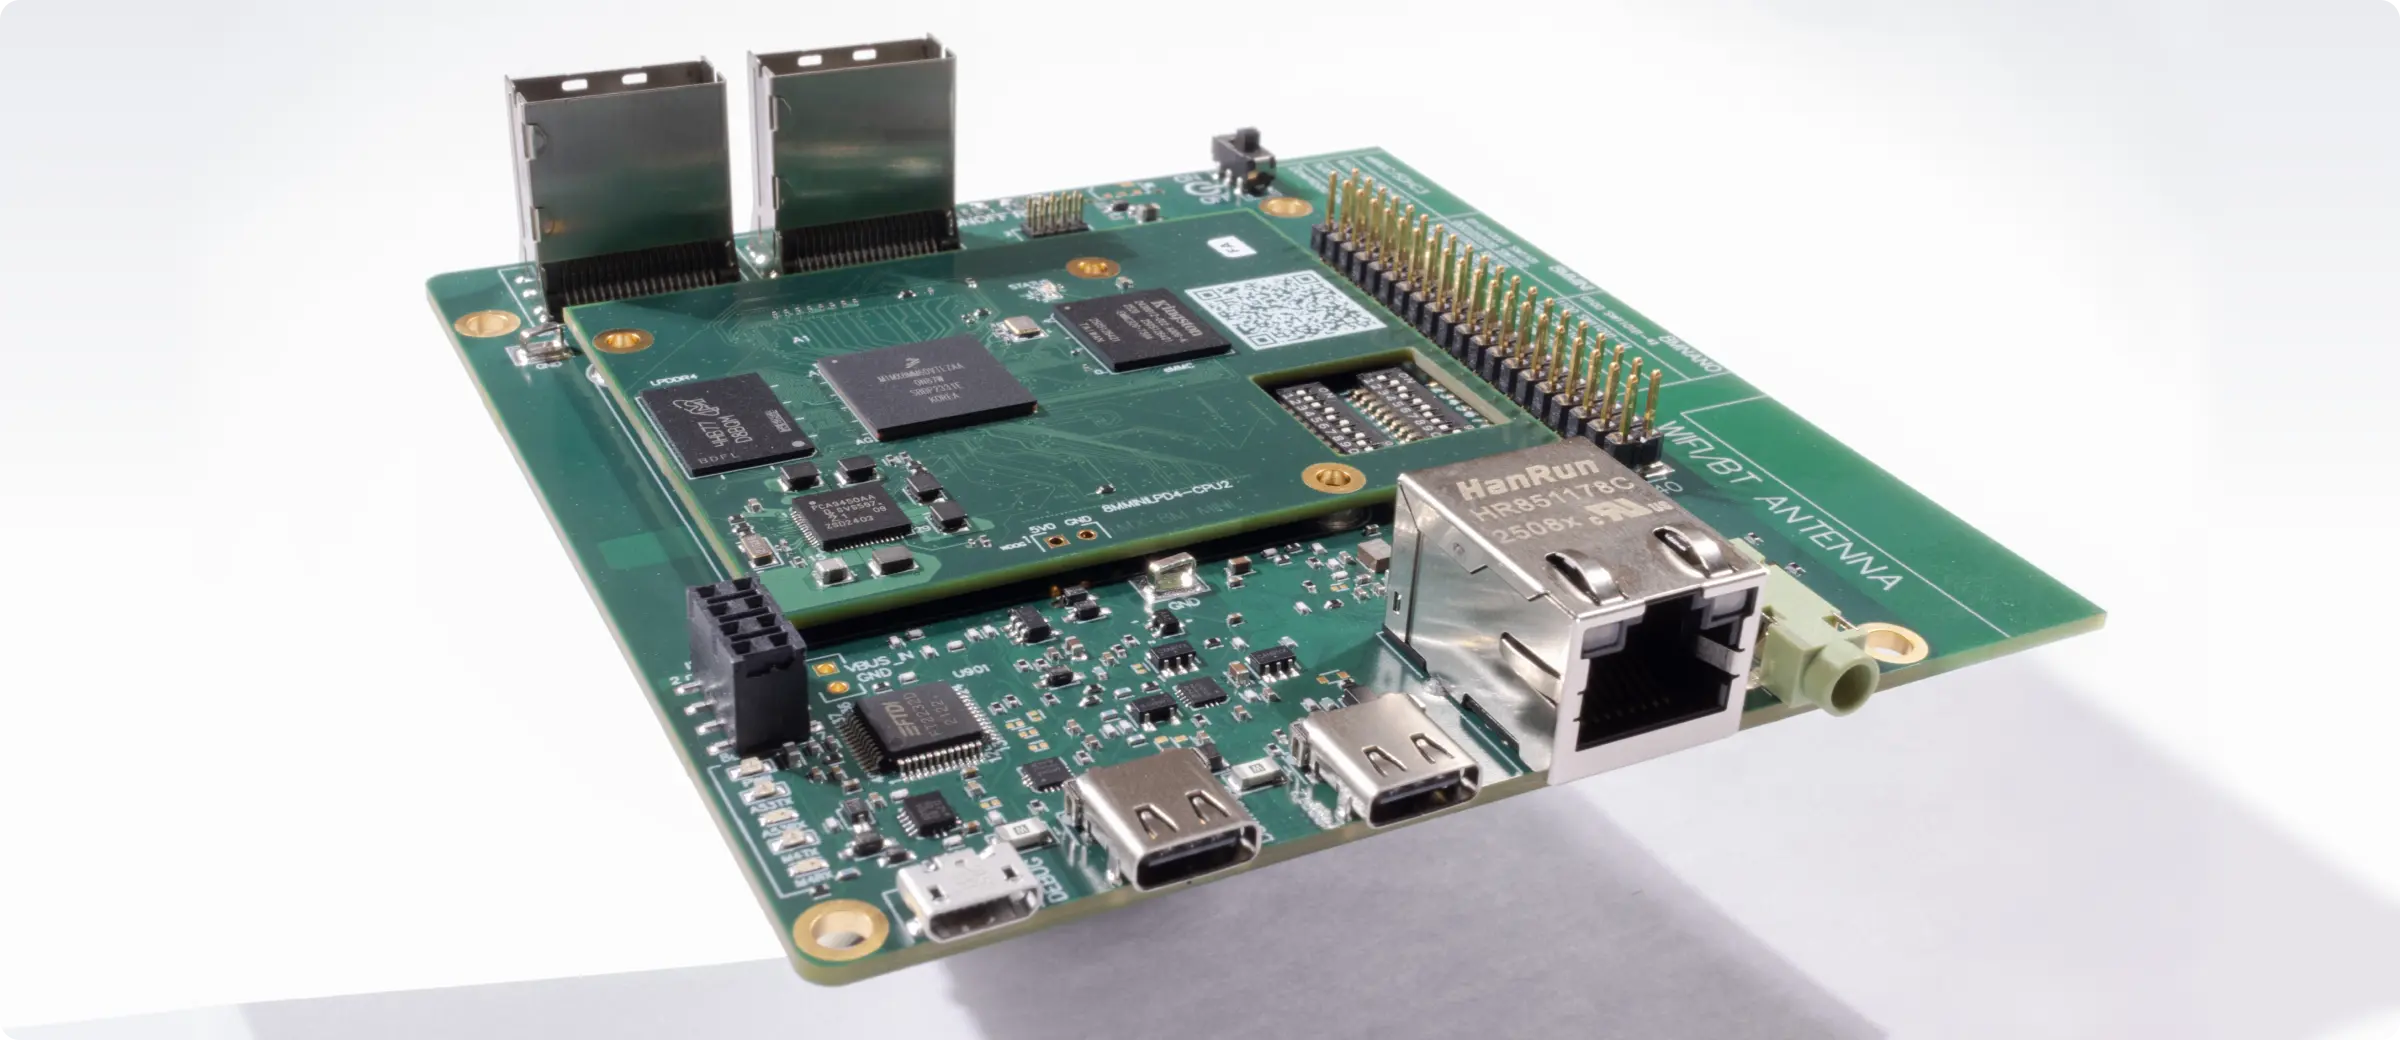
This article is one part of a walkthrough detailing how we recreated an NXP i.MX 8M Mini–based computer using Quilter’s physics-driven layout automation.
If you are looking to accelerate your PCB layout with physics-driven AI, you are in the right place. This guide shows you, step by step, how to start your Quilter free trial so you can evaluate AI PCB layout automation fast and confidently.
Quilter is built for engineers, PCB designers, and hardware teams who want to move from schematic to layout with fewer bottlenecks, without switching CAD tools. The goal here is simple: you will create an account and reach your dashboard in under a minute, no sales call required.
What Makes Quilter Different from Other AI PCB Tools?
Most “AI PCB” tools fall into one of two buckets: lightweight assistants that help you in a browser, or add-ons that make small suggestions inside a specific workflow. Quilter takes a different approach. It is designed to automate complete PCB layout with a physics-driven foundation, so speed does not come at the cost of engineering confidence.
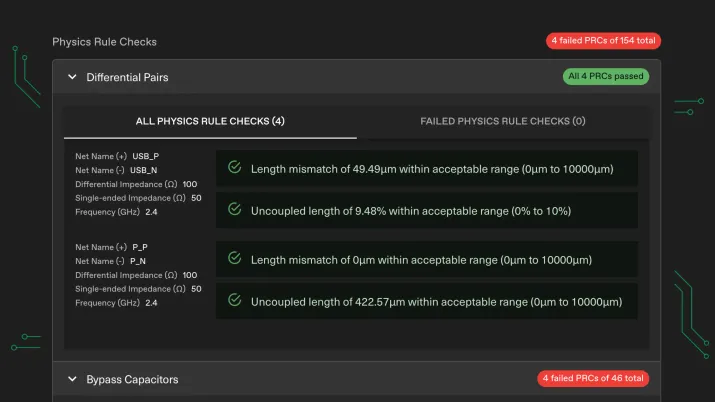
First, Quilter is physics-aware by design. Instead of producing a single best guess, Quilter generates layout candidates and evaluates them against the physical constraints you provide. That matters when you care about impedance-controlled nets, differential pairs, bypass capacitor placement, and other details that decide whether a board works on the bench.
Second, Quilter is built to work with your existing workflow. You can upload projects from common EDA ecosystems and keep control of the essential inputs: board outline, pre-placed connectors, floorplan intent, and constraints. You do not need to migrate your whole stack just to test AI.
Third, Quilter is optimized for iteration. Rather than waiting weeks between layout cycles, teams can generate multiple design candidates in parallel, compare tradeoffs, and move faster into design review and bring-up.
If your search query is “sign up for PCB design AI trial,” this is the core promise you are evaluating: faster layout, clearer review, and outputs that fit into the tools you already use.
Here’s How to Sign Up for a Free Trial (Step-by-Step)
Below is the fastest path to your trial. If you follow the steps exactly, you can go from zero to dashboard in under 60 seconds.
What you will need:
- A work email (recommended for teams)
- A password manager is handy (optional, but faster)
- 1 minute of uninterrupted time
Step 1: Open Quilter’s Free Trial page
Go to Quilter’s website and navigate to the Free Version page.
Step 2: Click “Get Started” and begin registration
On desktop, you will typically see a prominent Get Started button in the site header. Click it to open the sign-up flow.
Step 3: Enter your email and create your account
Complete the form with your email and password. If the form asks for company details, keep it simple and accurate. This helps Quilter tailor onboarding to your use case.
Tip: Use a company email address when evaluating Quilter for a team or startup. It can streamline access to collaboration workflows in the future.
Step 4: Verify your email
Check your inbox for a verification email and click the confirmation link. This usually takes seconds.
If you do not see it: check spam, promotions, or corporate filtering.
Step 5: Log in to your Quilter dashboard
After verification, log in, and you should land in your dashboard. This is where you will upload a project and launch your first run.
Step 6: Watch the 45-second walkthrough video
To make this page easier to follow, embed a short screen recording that shows the entire flow from the Free Version page through the first dashboard view.
What Happens After You Sign Up?
Once you are inside Quilter, the first minute should feel guided, not confusing. Expect a quick onboarding experience that guides you to the next best action: uploading a project and defining the constraints that matter to your board.
Typically, your next steps look like this:
- You land on the dashboard and create a new project.
- You upload your native design files from your EDA tool.
- You confirm key inputs, such as board outline, connector placement, and constraint intent.
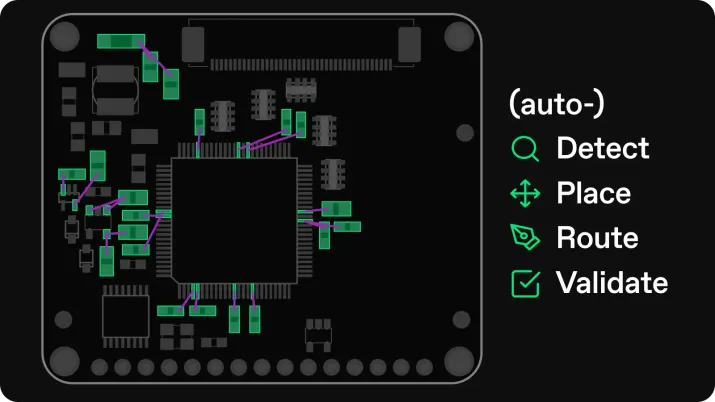
- Quilter begins generating candidates and running design review checks.
If you need help during onboarding, use the Support and Documentation resources in the site navigation. That is usually the fastest path to answers on file prep, constraints, and output formats.
Which PCB Design Files Can You Use with Quilter?
Quilter is designed to fit into real engineering workflows, which means you do not need to rebuild your project in a new editor. You can upload projects from widely used EDA environments and maintain your design flow.
Common file types and sources teams use with Quilter include:
- Altium projects
- Cadence projects
- Siemens projects
- KiCad projects
- OrCAD projects
How to prep files for your first upload:
- Include a clear board outline, so Quilter understands the physical boundary.
- Pre-place connectors or mechanically fixed components if their location is non-negotiable.
- Provide constraints for critical elements, such as differential pairs or impedance-controlled nets, so the AI layout automation aligns with your intent.
- Keep notes on your stack-up goals, especially if you plan to compare candidates across manufacturers or constraints.
This section is where many trial users decide if a tool is realistic for production. Quilter’s core advantage is that it returns files in the same format you submit so that you can run your regular checks and polishing steps back in your CAD tool.
How Fast Can You See Results with Quilter’s AI?
Speed is the whole point of an AI PCB design trial, but it helps to set expectations appropriately. The time from upload to the first candidate can vary based on board complexity and constraints, but the core workflow is designed to deliver results in minutes to hours, not weeks.
Once candidates are ready, you review them with the same mindset you would use for any layout handoff:
- Compare multiple candidates and select the one that best aligns with your constraints and objectives.
- Export the chosen candidate back into your native CAD tool.
- Run DRC, do final polish, generate fab outputs, and iterate as needed.
A practical way to evaluate Quilter in your trial is to choose one representative board and test two passes:
- A “baseline constraints” run to see speed and general placement quality.
- A “tight constraints” run that reflects your real impedance, diff pair, and placement rules.
That second run is usually where physics-driven PCB design starts to feel meaningfully different from generic layout automation.
Ready to Accelerate Your Next PCB Project?
If you are evaluating tools because you searched “sign up for PCB design AI trial,” your next step is simple: start the Quilter free trial, upload one real project, and review your first physics-validated layout candidates today.
FAQ: Quilter Free Trial and Onboarding
Do I need to talk to sales to start the trial?
The goal of this guide is to help you start quickly without a sales call. Use the Free Version entry point to create an account and start from the dashboard.
Do I have to install software?
Quilter is designed to integrate with uploads from your existing workflow, so you can evaluate the platform without a heavy toolchain migration.
What is the best first project to test?
Pick a board you know well and can validate quickly. A small-to-mid-sized design with explicit constraints is ideal for your first run.
How do I judge candidate quality?
Use your normal engineering process: verify critical nets, check placement intent, run DRC in your CAD tool after exporting, and compare candidates against your constraints.
Where can I get help during the trial?
Use Quilter’s Support and Documentation resources and link them prominently in your published version to facilitate smoother onboarding.